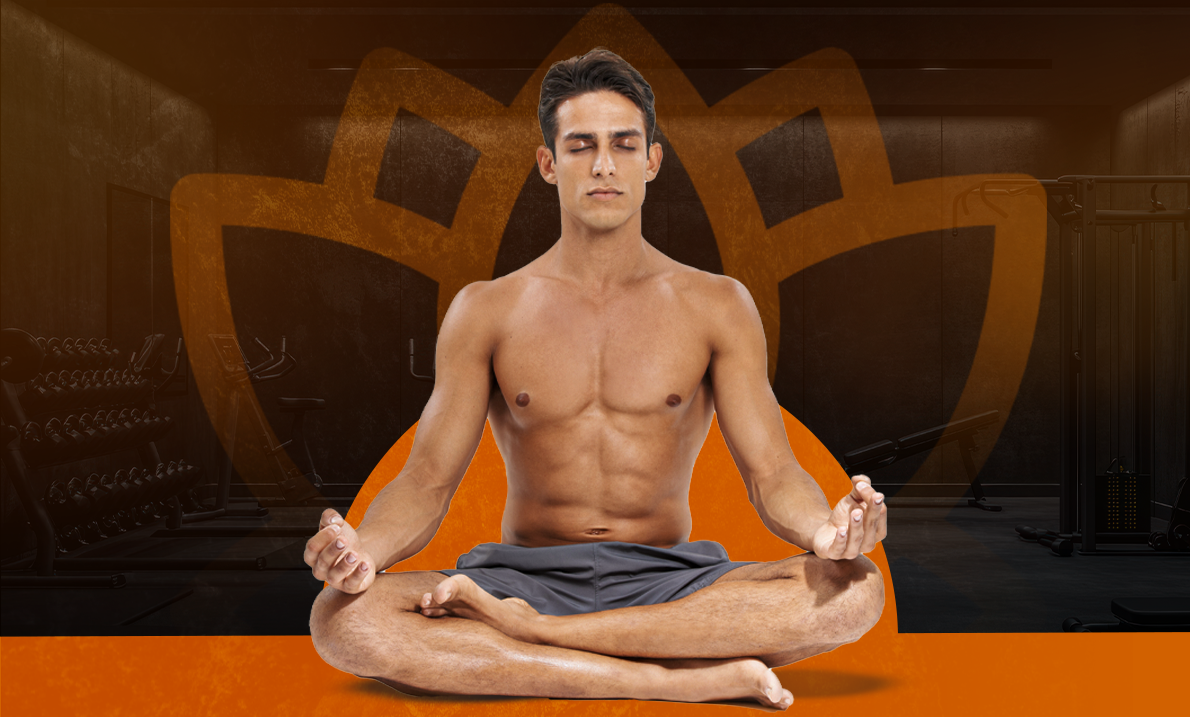
The Lotus Pose (Padmasana) is a classic yoga pose that enhances flexibility, posture, and mindfulness. Commonly used in meditation and breathing exercises, it improves hip mobility, spinal alignment, and mental focus.
MUSCLES WORKED IN LOTUS POSE
Learn to know what muscles are triggered by doing lotus pose exercises.
Primary Muscles Worked
These muscles do most of the work during the movement:
- Hip Flexors: Engaged and stretched to support the posture.
- Inner Thighs (Adductors): Open and stretch to allow leg placement.
- Lower Back (Erector Spinae): Maintains an upright posture and spinal alignment.
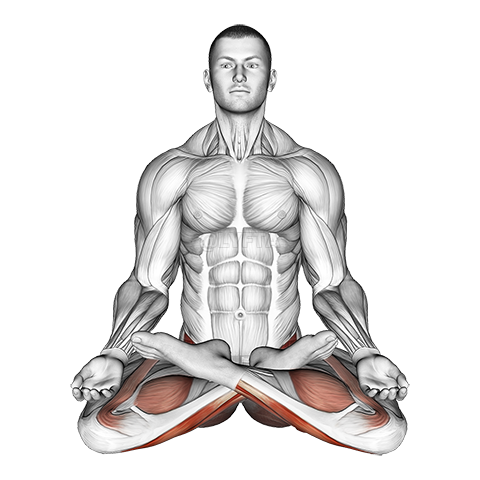
Secondary Muscles Worked
These muscles provide additional support and stability:
- Glutes: Help stabilise the seated position.
- Knees & Ankles: Experience a deep stretch and mobility boost.
- Core Muscles: Engaged to maintain balance and stability.
BENEFITS OF LOTUS POSE
Get to know the top benefits of doing a lotus pose.
Improves Hip Mobility
Enhances flexibility and range of motion by stretching the hip joints and thighs.
Supports Spinal Health
Strengthens the spine, reducing slouching and back pain.
Enhances Mindfulness
Often used in meditation to reduce stress, anxiety, and mental distractions.
Better Breathing
Opens the chest and aligns the spine, promoting deeper, more controlled breathing.
HOW TO PERFORM THE LOTUS POSE PROPERLY
These are the authentic steps to follow for doing lotus poses correctly.
Executing Lotus Pose
Sit on the Floor: Extend your legs fully, keep your spine straight, and relax your shoulders.
Bend One Knee and Place the Foot on the Opposite Thigh: Ensure the sole faces upward, the heel is close to the hip, and the knee points downward.
Bend the Other Knee and Place the Foot on the Opposite Thigh: Both feet should rest comfortably on opposite thighs, with knees touching the floor if possible.
Rest Your Hands on Your Knees: Keep your palms facing up in a mudra position and maintain a relaxed yet upright posture with an open chest.
Hold and Breathe Deeply: Stay in the pose for 30 seconds to 1 minute, focusing on slow, steady breaths to enhance relaxation and mindfulness.
COMMON MISTAKES TO AVOID WHEN DOING THE LOTUS POSE
Stay away from these common mistakes. Make sure to avoid such poses.
Forcing the Legs into Position
Never force your knees into place; ease into the stretch gradually.
Rounding the Back
Keep your spine straight and your chest open to maintain proper alignment.
Ignoring Discomfort in the Knees
If you feel pain or pressure in your knees, modify the pose or exit it safely.
Holding the Breath
Breathe deeply and steadily to stay relaxed and comfortable.
MODIFICATIONS AND VARIATIONS FOR LOTUS POSE
You can do more exercises to activate your muscles similarly to lotus pose.
Half Lotus Pose
Keep one foot on the opposite thigh while the other remains on the floor.
Bound Lotus Pose
Advanced variation with arms wrapped behind the back to hold the toes.
Supported Lotus Pose
Use yoga blocks or cushions under the knees for comfort.
Reclined Lotus Pose
Perform the Lotus Pose while lying on your back for a restorative stretch.
Reps and Sets for All Levels

Beginner
Hold for 30 seconds, repeat 2-3 times.

Intermediate
Hold for 45 seconds to 1 minute, repeat 3 times.

Advanced
Hold for 1-2 minutes, repeat 4 times.
The Lotus Pose is a powerful yoga pose that enhances flexibility, improves posture, and promotes relaxation. Whether for meditation or stretching, it’s a valuable addition to any yoga routine.
Ready to embrace stillness? Cross your legs, breathe deeply, and experience the tranquillity of Padmasana.